Top 5 Tips for the Best Homemade Eskimo Pie Popsicles Your Family Will Love
There’s something magical about biting into a creamy, chocolate-coated Eskimo Pie popsicle. It’s a delightful treat that brings a sense of nostalgia while satisfying your sweet tooth. The best part? You can recreate this indulgence right in your kitchen, tailoring it to your family’s taste preferences. In this article, you’ll learn how to make the best homemade Eskimo Pie popsicles with expert tips, an easy-to-follow recipe, and answers to common questions.
Table of Contents
Why Make Eskimo Pie Popsicles at Home?
Making your own Eskimo Pie popsicles offers several benefits. Here’s why you should try it:
- Cost-Effective: Store-bought options can be pricey, but homemade versions are affordable and allow you to make larger batches.
- Customizable: Control the sweetness, flavors, and toppings to suit your family’s preferences.
- Healthier Ingredients: Avoid preservatives and artificial additives by using high-quality ingredients.
- A Fun Activity: Making popsicles is a fun, creative activity that kids and adults can enjoy together.
Preparation and Cooking Time:
- Prep Time: 20 minutes
- Freeze Time: 6–8 hours (or overnight)
- Total Time: 8 hours 20 minutes
Servings:
8 popsicles
The Ultimate Recipe for Homemade Eskimo Pie Popsicles
Ingredients
| Ingredient | Quantity | Purpose |
|---|---|---|
| Vanilla ice cream | 2 cups | Base for the popsicles |
| Whole milk/heavy cream | 1/2 cup (optional) | Adds creaminess |
| Semi-sweet chocolate chips | 1 1/2 cups | Chocolate coating |
| Coconut oil | 2 tbsp | Smoothens the chocolate |
| Crushed nuts/sprinkles | 1/4 cup | Optional toppings |

Click here if you want to buy ingredients from Amazon
Step-by-Step Instructions
- Prepare the Popsicle Base:
- Soften the vanilla ice cream by leaving it at room temperature for 5–10 minutes.
- Mix in the milk or heavy cream for added creaminess.
- Pour the mixture into the popsicle molds and place the sticks inside. Freeze for at least 4 hours or until firm.

- Melt the Chocolate Coating:
- In a microwave-safe bowl, melt the chocolate chips and coconut oil in 30-second intervals, stirring between each session. Alternatively, use a double boiler.

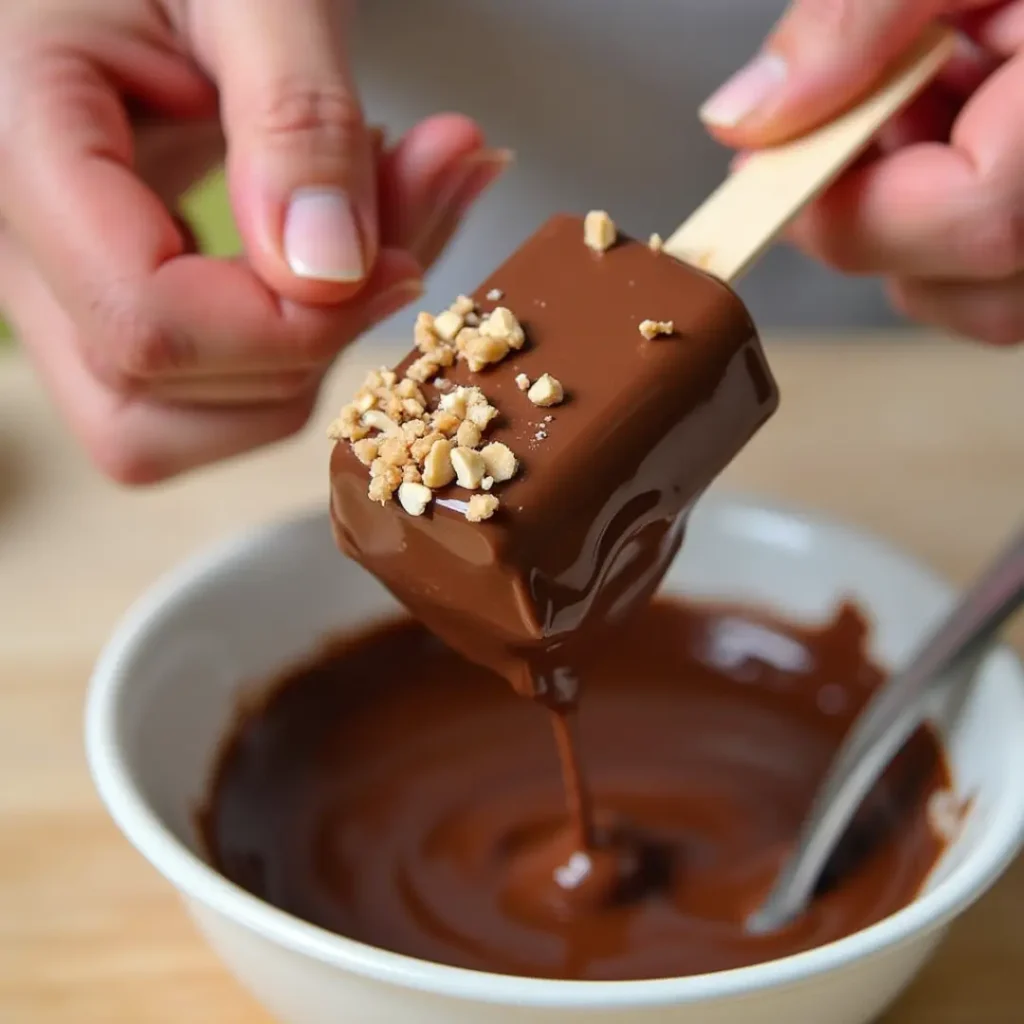
- Dip and Decorate:
- Once the popsicles are fully frozen, carefully remove them from the molds.
- Dip each popsicle into the melted chocolate, allowing any excess to drip off.
- Immediately add toppings like crushed nuts or sprinkles.

- Final Freeze:
- Place the coated popsicles on a parchment-lined tray and freeze for an additional 10–15 minutes to set the chocolate.

Top 5 Tips for the Best Homemade Eskimo Pie Popsicles
1. Choose High-Quality Ingredients
The quality of your ingredients makes a significant difference in the final product. Opt for premium vanilla ice cream and semi-sweet chocolate chips. If you’re aiming for a healthier version, use low-sugar ice cream or dairy-free alternatives.
2. Perfect the Chocolate Coating
Achieving a smooth, crack-free chocolate coating is easier than you think:
- Add coconut oil to the melted chocolate to ensure it coats evenly and hardens with a glossy finish.
- Let the chocolate cool slightly before dipping to avoid melting the ice cream base.
3. Creative Toppings for a Personal Touch
Enhance the visual appeal and flavor of your popsicles with toppings:
- Classic Options: Crushed nuts, shredded coconut, or sprinkles.
- Gourmet Twists: Crushed cookies, freeze-dried fruit, or sea salt. Encourage kids to participate by letting them choose and apply their favorite toppings.
4. Freeze Smart for the Perfect Texture
Proper freezing ensures your popsicles come out firm and creamy:
- Use high-quality molds that make removal easy.
- Allow the popsicles to freeze for at least 4 hours, or overnight for best results.
- Run warm water over the molds for a few seconds before unmolding to prevent sticking.
5. Experiment with Flavors
Make your popsicles unique by experimenting with different flavors:
- Extracts: Add a teaspoon of vanilla, almond, or mint extract to the ice cream base.
- Mix-Ins: Swirl in caramel, peanut butter, or crushed cookies before freezing.
- Themed Popsicles: Create special flavors for holidays or family celebrations.
Nutrition Facts and Benefits
Nutrition Facts (Per Serving)
- Calories: 250 kcal
- Protein: 3g
- Carbohydrates: 24g
- Fat: 16g
- Fiber: 2g
- Sugar: 18g
- Calcium: 6% of the daily recommended intake
Benefits of Making Homemade Eskimo Pie Popsicles
- Healthier Options: Control sugar levels and avoid preservatives.
- Budget-Friendly: Save money by making larger batches at home.
- Fun Activity: A perfect way to bond with family and spark creativity.
- Customizable: Tailor flavors and toppings to individual preferences.
Frequently Asked Questions (FAQ)
Can I make Eskimo Pie popsicles vegan?
Absolutely! Replace regular ice cream with plant-based options like coconut milk or almond milk ice cream. Use dairy-free chocolate chips for the coating.
How do I prevent popsicles from sticking to the mold?
Run warm water over the outside of the molds for a few seconds before gently removing the popsicles.
Can I use dark chocolate instead of semi-sweet?
Yes, dark chocolate provides a richer flavor and pairs well with the sweetness of the ice cream.
What are some unique topping ideas?
Try freeze-dried fruits, edible gold dust, or crushed pretzels for a creative twist.
Conclusion
Creating the best homemade Eskimo Pie popsicles is a rewarding experience that combines nostalgia, creativity, and deliciousness. By following these tips and trying the provided recipe, you’ll craft treats your family will adore. So, gather your ingredients, invite your loved ones, and start making memories—one popsicle at a time!
Ready to make your summer sweeter? Try this recipe today and share your creations with us in the comments below. Don’t forget to pin or bookmark this guide for your next kitchen adventure!
For more recipe click here