How to Make the Perfect Black Bear Jam in Short Time
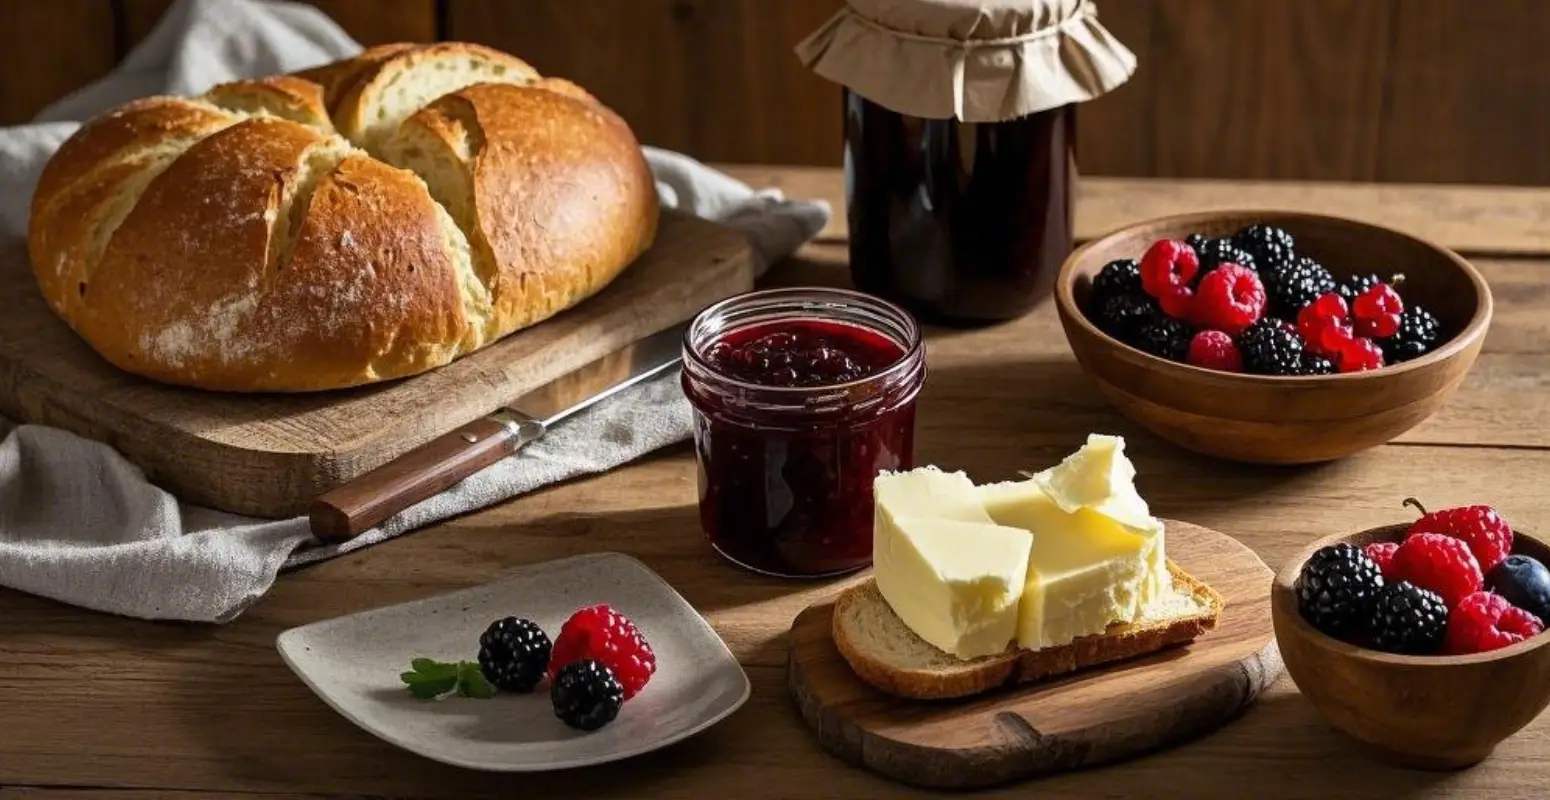
Imagine waking up to the aroma of a kitchen filled with the sweet, tangy scent of freshly made jam—a recipe that not only delights your taste buds but also brings back warm memories of family gatherings and sunny afternoons. In this article, you’ll discover how to create a mouthwatering Black Bear Jam in a remarkably short time. This step-by-step guide is designed to be as efficient as it is delicious, perfect for when you want to enjoy homemade preserves without spending all day in the kitchen.
Table of Contents
Overview of the Recipe
Before you dive into the process, it’s helpful to have a snapshot of what you’re about to create. This quick overview provides you with all the essential details at a glance:
| Attribute | Details |
|---|---|
| Prep Time | 10 minutes |
| Cooking Time | 15 minutes |
| Total Time | 25 minutes |
| Servings | 4–6 jars (approximately) |
| Type of Dish | Jam/Preserve |
| Cuisine | American / Homemade |
| Difficulty | Easy |
| Nutrition | ~50 calories per serving* |
*Nutrition facts are approximate and may vary with ingredient adjustments.
This recipe is perfect for those busy days when you crave a sweet treat that’s quick to prepare, yet bursting with flavor. Whether you’re a seasoned cook or trying your hand at homemade preserves for the first time, this guide has got you covered.
Ingredients of Black Bear Jam
To create a flawless batch of Black Bear Jam, you’ll need the following ingredients. They’re simple, wholesome, and designed to highlight the natural sweetness and vibrant color of fresh blackberries.
| Ingredient | Quantity | Notes |
|---|---|---|
| Fresh Blackberries | 4 cups | Rinsed and drained thoroughly |
| Granulated Sugar | 2 cups | Adjust according to your desired sweetness |
| Fresh Lemon Juice | 1/4 cup | Enhances flavor and acts as a natural pectin source |
| Unsalted Butter (optional) | 1/2 teaspoon | Helps reduce foaming during the cooking process |
Using high-quality, fresh ingredients will make all the difference in achieving that perfect consistency and depth of flavor.

Equipment Needed
Before you begin, gather these essential tools to ensure your jam-making experience is smooth and enjoyable:
- Heavy-bottomed Pot: For even heat distribution during cooking.
- Stirring Spoon: A sturdy spoon to help dissolve the sugar and stir the mixture.
- Sterilized Jars: To safely store your finished jam.
- Cold Plate: For testing the gel consistency of your jam.
- Measuring Cups and Spoons: To accurately measure all ingredients.
- Pot Holder: For safely handling hot equipment.
Having these items ready at your workstation means you can focus on the process without any interruptions.
Step-by-Step Process
Preparation
A smooth jam-making process starts with proper preparation. By organizing your ingredients and equipment in advance, you set the stage for success.
- Gather Your Ingredients: Ensure all ingredients are measured and at hand.
- Clean Your Fruit: Rinse the blackberries gently and allow them to drain.
- Sterilize Your Jars: Use boiling water or your preferred method to sterilize jars for storage.
- Pre-measure Ingredients: Lay out your sugar, lemon juice, and optional butter to streamline the process.
Taking these preparatory steps not only saves you time but also minimizes stress as you begin the cooking process.
Cooking Steps
Now that your ingredients and tools are ready, it’s time to create your Black Bear Jam. Follow these carefully laid out steps to ensure you achieve the perfect texture and flavor.
- Combine Fruit and Lemon Juice:
Place the rinsed blackberries in a heavy-bottomed pot. Pour in the lemon juice and let the fruit sit for about 10 minutes. This resting period helps release the natural juices, essential for the jam’s consistency.
- Gradually Add Sugar:
Sprinkle the granulated sugar into the pot slowly while stirring continuously. This gradual process allows the sugar to dissolve evenly into the berry mixture, ensuring a smooth texture.

- Optional Butter Addition:
If you decide to use unsalted butter, add 1/2 teaspoon to the mixture. This small addition helps reduce any foaming that might occur during boiling, keeping your jam clear and appetizing. - Bring to a Rolling Boil:
Increase the heat to medium-high until the mixture reaches a rolling boil. Keep stirring to prevent the mixture from sticking to the bottom of the pot. This vigorous boil is essential for initiating the gel formation. - Simmer for Consistency:
Reduce the heat slightly to maintain a steady simmer. Continue cooking for 10–15 minutes. To test if your jam is ready, drop a small spoonful onto a cold plate. If it wrinkles slightly when nudged, your jam has reached the perfect gel consistency. - Skim Off the Foam:
During boiling, you might notice some foam forming on the surface. Use a spoon to carefully skim this off, ensuring a cleaner final product.
Finishing Touches and Storage
Once your jam has reached the desired consistency, it’s time to finish and store it properly.
- Ladle the Jam:
With a clean ladle, carefully transfer the hot jam into your sterilized jars. Make sure to leave about 1/4 inch of headspace at the top to allow for expansion. - Processing (Optional):
If you wish to store your jam for an extended period, process the filled jars in a boiling water bath for 10 minutes. This step ensures a long shelf life by sealing out contaminants. - Cooling and Storage:
Allow the jars to cool completely at room temperature. Once cooled, if not processed, store the jam in the refrigerator and enjoy within a few weeks.
Following these steps ensures your Black Bear Jam not only tastes incredible but also retains its freshness and nutritional benefits over time.
Tips and Tricks for Quick Jam Making
Enhance your jam-making experience with these insider tips that will help you perfect your Black Bear Jam recipe every time:
- Select the Ripeest Berries:
Use the freshest, ripest blackberries you can find. The natural sweetness and deep color of the fruit are key to achieving a vibrant jam. - Pre-measure Everything:
Avoid mid-cooking delays by measuring out all ingredients before you start. This preparation allows you to focus solely on the process. - Maintain a Steady Heat:
Keep your heat at a medium-high level to ensure a consistent boil. Too high, and you risk burning the sugar; too low, and the jam may not set properly. - Experiment with Spices:
While the classic recipe is delightful on its own, consider adding a pinch of cinnamon or a dash of vanilla extract for a unique twist. - Test the Consistency Early:
Use the cold plate method early on to avoid overcooking. This proactive step saves time and ensures your jam doesn’t become too thick. - Use a Heavy-Bottomed Pot:
A pot that distributes heat evenly is essential for avoiding hotspots that can burn your jam.
These techniques are drawn from years of experience and culinary research, ensuring that every batch of Black Bear Jam you make is a success.
Benefits and Nutrition Facts
Making your own Black Bear Jam comes with several advantages beyond its delightful taste:
- Nutritional Benefits:
- Antioxidants: Blackberries are rich in antioxidants, which can help fight free radicals and support overall health.
- Low Calories: At approximately 50 calories per serving, this jam is a light yet flavorful addition to your meals.
- Vitamin C: The natural vitamin C in blackberries and lemon juice supports a healthy immune system.
- Homemade Goodness:
- No Artificial Preservatives: By making your own jam, you know exactly what’s in it—pure, natural ingredients without unnecessary additives.
- Customizable Flavor: Adjust the sugar and spices to match your taste preferences.
- Quick and Easy: With a total time of just 25 minutes, this recipe fits perfectly into your busy lifestyle without sacrificing quality.
- Economic Benefits:
- Cost-Effective: Homemade jam can be more economical than store-bought versions, and you can make a large batch to enjoy over time.
- Sustainable Choice: Using seasonal, local produce not only tastes better but also supports sustainable practices.
Enjoying your homemade Black Bear Jam means you’re treating yourself to a nutritious, customizable, and economical delight that fits seamlessly into your daily life.
Frequently Asked Questions about Black Bear Jam Recipe
Q1: How long does it take to make a Black Bear Jam recipe?
A: The entire process takes approximately 25 minutes—10 minutes of prep time and 15 minutes of cooking. This quick timeline makes it ideal for busy individuals who still want to enjoy homemade preserves.
Q2: Can I store Black Bear Jam for long periods?
A: Yes, if you process the jars in a boiling water bath for 10 minutes, your jam can be stored for several months in a cool, dark place. Unprocessed jam should be refrigerated and consumed within a few weeks.
Q3: Is this Black Bear Jam recipe suitable for beginners?
A: Absolutely. The recipe is designed to be simple, with clear steps and easy-to-find ingredients, making it perfect for both beginners and experienced cooks.
Q4: How can I adjust the sweetness in my Black Bear Jam recipe?
A: You can modify the amount of granulated sugar to suit your taste. If you prefer a less sweet version, reduce the sugar slightly. Conversely, for a sweeter jam, add a bit more, keeping in mind that this may affect the final consistency.
Q5: What equipment is essential for this recipe?
A: The key equipment includes a heavy-bottomed pot, stirring spoon, sterilized jars, a cold plate for testing gel consistency, and measuring cups and spoons. These items are crucial for ensuring your jam turns out perfectly every time.
Conclusion
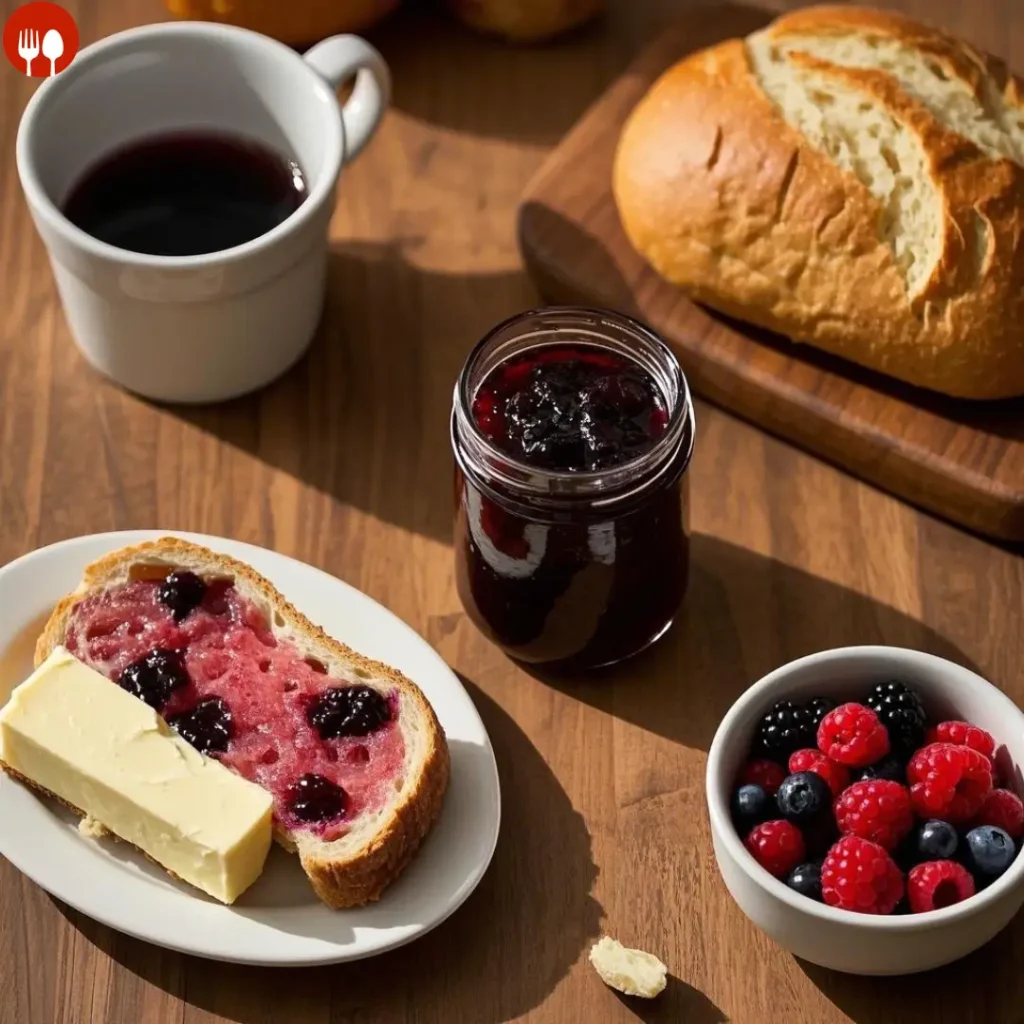
Now that you’ve learned how to make the perfect Black Bear Jam in a short time, it’s your turn to bring this delightful recipe to life. Imagine the satisfaction of opening a jar of your very own homemade jam—each spoonful bursting with the fresh, natural flavors of blackberries and a hint of lemon. Not only is this jam an excellent accompaniment to your morning toast, but it also serves as a versatile ingredient for desserts, sauces, and even savory dishes.
By following this detailed guide, you can enjoy a quick, nutritious, and cost-effective treat that enriches your meals while adding a touch of homemade charm. Whether you’re looking to impress your family or add a special touch to your brunch spread, this Black Bear Jam recipe is sure to become a favorite in your kitchen.
Your Next Step:
Don’t wait any longer—gather your ingredients, prepare your equipment, and embark on your jam-making journey today! Share your results with us in the comments below or on social media, and subscribe to our newsletter for more quick and delicious recipes that fit perfectly into your busy lifestyle.
Enjoy the process, savor every moment, and delight in the sweet rewards of your homemade creation. Happy jam-making!
By following this comprehensive guide, you’ve now equipped yourself with everything you need to create a stunning batch of Black Bear Jam. Remember, every great recipe begins with passion and a few simple ingredients. Embrace the art of quick cooking, and let your creativity shine in every jar you fill.
If you found this article helpful, please share it with your friends, leave a comment with your experiences, and don’t forget to subscribe for more innovative recipes that combine simplicity with extraordinary flavor. Your journey to culinary excellence starts here!
For more delicious recipe click here
⭐ Did you try this recipe? Rate it & Share Your Experience!
Your feedback helps others and makes our community even better!
There are no reviews yet. Be the first one to write one.